
TUZHE PACKAGING GUIDE
Two-Level Gift Boxes: Map Artwork Around the Lid and Drawer
Map every visible and moving surface before approving artwork for a hinged gift box with a lower drawer. Review seams, pull tabs, door identifiers and finish layers.
On this page
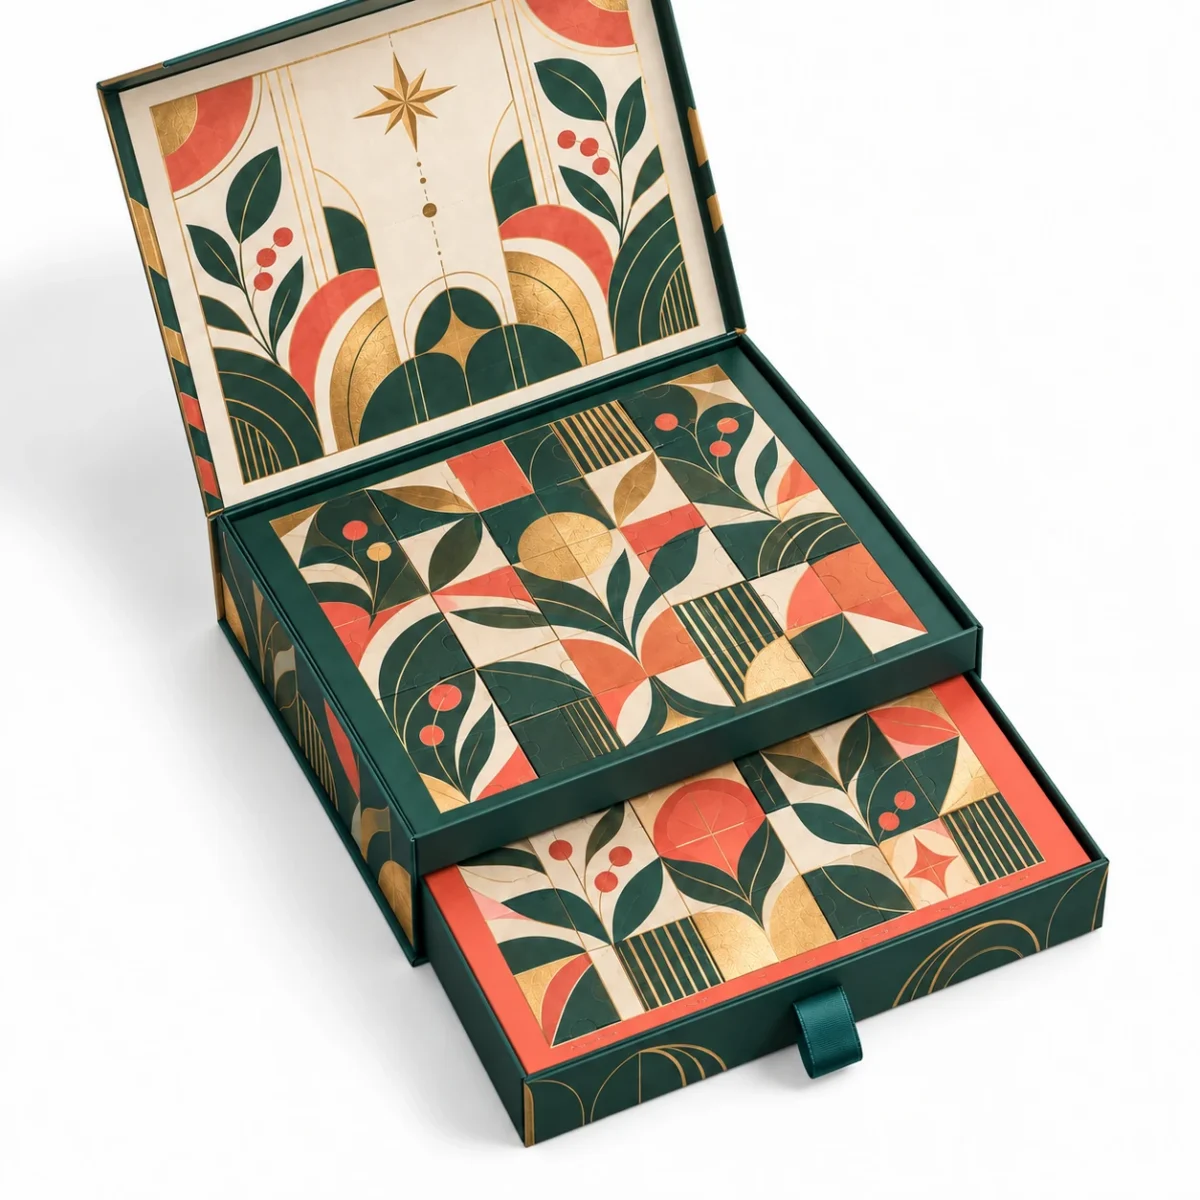
A two-level gift box changes state more than once: it is first seen closed, then with the hinged lid open, and again with the lower drawer extended. Artwork and labels should be planned for those states before the final dielines are approved. A layout that looks balanced while flat can cross a seam, hide a pull tab or send the recipient to the wrong compartment.
Make a three-state visibility map
Photograph or sketch the approved blank sample in three positions: fully closed, lid open with the drawer closed, and lid open with the drawer extended. Mark the surfaces visible in each state. This separates the cover message from the upper presentation and the second reveal in the drawer.
| Package state | Primary task | Artwork check |
|---|---|---|
| Closed | Identify the range and opening side. | Keep essential information away from the lid edge and front drawer seam. |
| Lid open | Introduce the upper level and opening sequence. | Check that the lid artwork reads in its supported angle and that no instruction is hidden behind the tray rim. |
| Drawer extended | Reveal the lower level without losing orientation. | Keep labels, seals and finishing clear of the pull tab, drawer edge and sliding contact areas. |
Draw keep-out zones around every moving edge
Mark the hinge line, lid seating edge, drawer entrance, front seam and pull-tab attachment on the structure drawing. These are practical review zones rather than universal dimensions. The supplier should propose allowances for the chosen board, covering material and finishing process.
A decorative band may continue across two closed surfaces, but the approved artwork should show how it separates when the drawer moves. Small type or a registration-dependent motif placed directly across that break may look incomplete in either open state. A label intended as a tamper or opening seal is a functional component and should be identified as such; an ordinary branding label should not accidentally restrict the drawer.
Give each door or position one identifier
For a multi-door presentation, make one numbered or icon-based position map and use it across the artwork file, insert drawing, packing sheet and sample review. Record which level contains each position and where the sequence begins. Do not depend on color alone to distinguish the levels.
Test the map on a physical blank or printed prototype. Open several positions near edges and near each other. Check that an opened door does not cover the next identifier and that the contents can be replaced for review without changing the reference layout.
Review finishing on the assembled sample
Foil, spot gloss, embossing or textured covering can change how a crease, perforation or sliding edge behaves. Keep a separate finish layer in the artwork and ask the supplier to flag areas that need adjustment. Review the closed and open sample under the same lighting used for the artwork approval photographs.
The goal is a record of what was observed, not an unsupported performance claim. If a door tears, the drawer catches or an identifier becomes hidden, note the exact position and package state before changing the drawing.
Save one approval set
- Approved structure drawing and dielines.
- Three-state visibility map.
- Door or position map for both levels.
- Artwork and finish layers with revision numbers.
- Photos of the closed, lid-open and drawer-open sample.
- Filled trial notes for the intended contents.
The two-level drawer gift box concept shows the structure discussed here. Use the existing drawer movement review for loaded sliding checks, the sample approval checklist for revision control and the printing and finishing guide before requesting a project-specific proposal.